Fix Windows 11 Update Error 0x800f0983: Clear Corrupted Cache in Minutes
Stuck on Windows 11 update error 0x800f0983? This common error usually means your update cache is corrupted, blocking installations. Follow these steps to reset the update components and get updates flowing again — no reinstall needed.
Section 1: Run the Windows Update Troubleshooter First
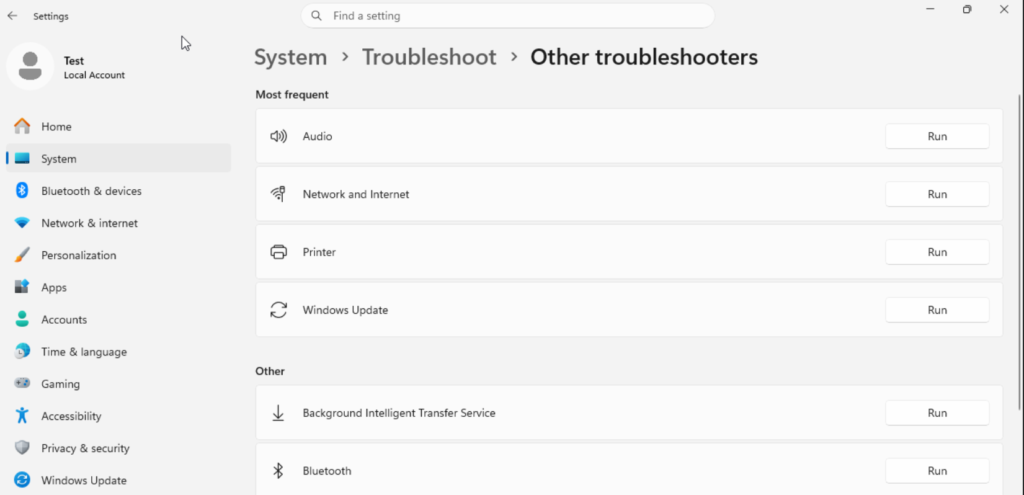
The built-in troubleshooter can automatically detect and fix common update service issues, including corrupted cache files. It’s the fastest first step before manual repairs.
- Press Win + I to open Settings, then go to System > Troubleshoot > Other troubleshooters.
- Click Run next to Windows Update and let the diagnostic complete.
- Apply any recommended fixes, then restart your PC and check for updates again.
Section 2: Reset Windows Update Components via Command Prompt
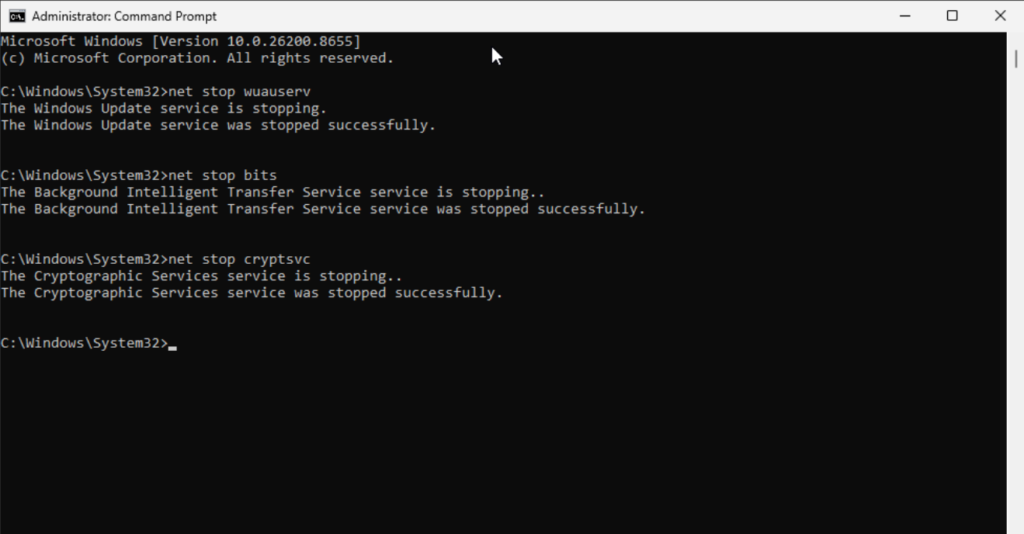
If the troubleshooter doesn’t resolve it, manually resetting the update services and clearing the SoftwareDistribution and Catroot2 folders forces a clean cache rebuild — this fixes 0x800f0983 in most cases.
- Open Command Prompt as Administrator: search cmd, right-click > Run as administrator.
- Run these commands one by one, pressing Enter after each:
net stop wuauservnet stop bitsnet stop cryptsvcren C:\Windows\SoftwareDistribution SoftwareDistribution.oldren C:\Windows\System32\catroot2 catroot2.oldnet start wuauservnet start bitsnet start cryptsvc - Close Command Prompt, restart your PC, then go to Settings > Windows Update and click Check for updates.
Section 3: Repair System Files with DISM and SFC
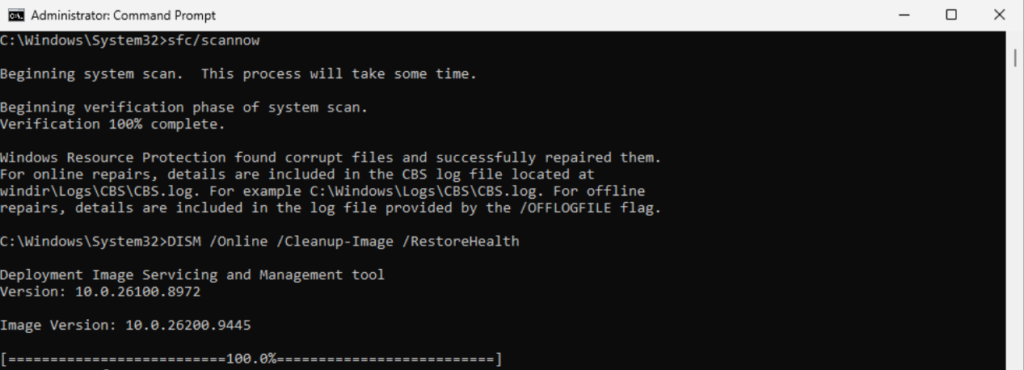
Corrupted system files can also trigger 0x800f0983. Running DISM to repair the component store followed by SFC ensures the underlying OS integrity is restored before retrying updates.
- In the same Administrator Command Prompt, run:
DISM /Online /Cleanup-Image /RestoreHealth
Wait for completion (may take 5–10 minutes). - Then run:
sfc /scannow
Let it scan and repair any corrupted system files. - Restart your PC once both finish, then check for updates again — the error should be resolved.
Summary
Error 0x800f0983 is almost always caused by a corrupted Windows Update cache. Start with the built-in troubleshooter, then reset the update components by stopping services and renaming the SoftwareDistribution and Catroot2 folders. Finish with DISM and SFC to repair any underlying system file damage. The whole process takes under 15 minutes and avoids a full Windows reinstall.
Did this fix work for you? Have a tip that I didn’t cover? Drop it in the comments below — I read every one.
Related Posts
Fix Windows 11 Update Error 0x80070002: Missing Files Solution
Windows 11 Stuck on “Getting Things Ready”? Here’s the Fix